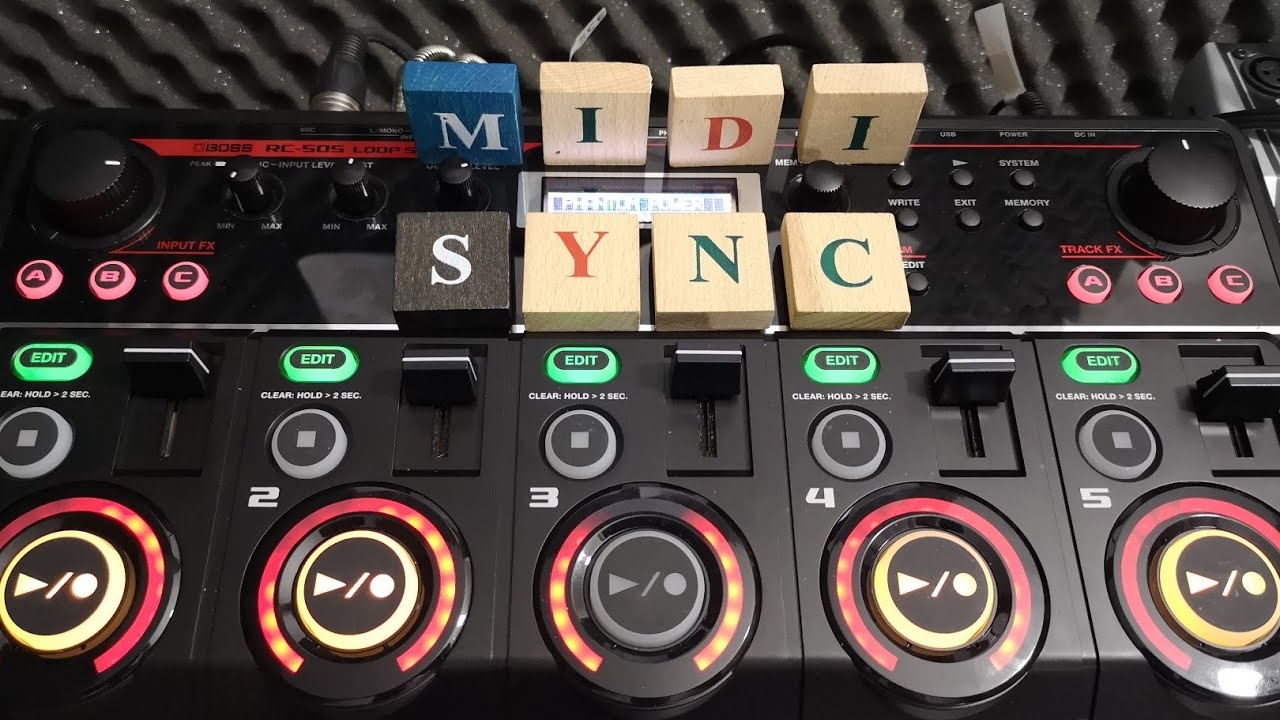
How to setup MIDI Sync - MIDI clock tutorial for Boss RC 505 Loop
Full title: How to setup MIDI Sync - MIDI clock tutorial for Boss RC 505 Loop station and Yamaha keyboard
Learn how to perfectly synchronize your Boss RC505 looper with a Yamaha keyboard (such as the PSR S975 or SX900) using MIDI Clock. This tutorial covers everything you need to know about MIDI synchronization, including how to set up the External MIDI Clock, select the correct cables, and trigger automatic style playback from your loop station. Key topics include: - Configuring Transmit Clock and Start/Stop features. - Identifying MIDI IN/OUT ports. - Separating drums from right-hand voices. - Enabling MIDI synchronous mode between devices. - Understanding the benefits of MIDI Sync for your workflow. Additional Resources: - MIDI vs. Audio Recording: https://www.youtube.com/watch?v=yMBIUarEC_c - Boss RC 505 Playlist: https://www.youtube.com/playlist?list=PLlMRSGuMikFo2Jza928kD6erTUpRRMkEu - PSR S975 Playlist: https://www.youtube.com/playlist?list=PLlMRSGuMikFrleD0QayB77cXG7WjvBBco
Questions this video answers
What is MIDI synchronization?
MIDI synchronization is a type of signal communication that allows you to simultaneously control two devices. For example, it allows you to trigger another device, such as a yamaha psrs 975 workstation arranger, at the exact moment you press play on a looper like the boss rc 505 loop station. This is useful because manually setting the same BPM on both devices and pressing play at the same time is a human error solution.
Why is it better to use MIDI cables than setting the same BPM manually?
Setting the same BPM manually on both the looper and the keyboard is a human error solution because it is difficult to hit the proper momentum at the exact same moment. If you do not hit the timing perfectly, you will have a latency or a gap in the rhythm. The solution is to use a 5-pin MIDI cable to establish a master and slave communication. One device acts as the parent to give the tempo to the other device, which acts as the child or slave. This allows the slave device to inherit the tempo and play perfectly with it using one cable for one-way synchronization.
How do I connect the MIDI cables for one-way synchronization?
To set up one-way synchronization, you first need to decide which device will be the parent or master. In this condition, the looper is the master device. You need to connect your cable to the out of the looper because the synchronization signal is sent from the master device. One goes to out of the looper and the second one will go to the midi input of the yamaha device. You always connect to the in pair so out goes to in or in goes to out depending on your condition.
How do I configure the looper as the master device?
To configure the device as the master, go to system and find the midi clock. You need to set the midi synchronization to internal so the device sends its own clock as a midi sync to other devices. The midi sync source does not matter because the device will be sending the sync rather than receiving it. You should set midi pc out to on. Ensure that the clock is set to internal.
How do I configure the Yamaha keyboard to receive the MIDI clock?
To configure the settings, you need to access the midi profiles. You can use a default profile or create and load your own configuration file into memory. Within the profile, you should select clock external to indicate that the clock will be external. It is very important that the midi clock should be transmit clock off because you will be receiving data instead of transmitting it.
What are the benefits of using MIDI synchronization for live performance?
MIDI synchronization allows you to have a perfectly in a ridden start and stop. Another great advantage is that the tempo and BPM are fully interactive. This is perfect for changing the tempo during a performance or if you are composing songs. However, if you change the tempo in very big amounts with a pre-recorded sample, it will be distorted in some way. This happens because it is only an algorithm that expands and shrinks the wave data.
How do I set up the Yamaha keyboard as the master device?
To set up the Yamaha keyboard as the master device, you need to go to the function midi menu. Instead of external clock, you need to enable a profile where the clock is set to internal. You then need to set the transmit clock to on so it starts sending data. Connect the cable from the yamaha midi out to the midi in of the looper. Be aware that there may be problems with the synchronization tempo, as the boss loop station might receive a different bpm than what is set on the yamaha.
Is this your video? Claim it
Is this your video?
Claim this video to link the entry to your email address and stop it being shown as an anonymous addition.
Comments 0
Join the discussion. Create a free account or log in to comment and vote. It takes a few seconds, and it is free.